
OAuth 2.0 for API requests
Overview
When you set up your store to use OAuth, customers will only need to sign in with Apruve once. You would be able to provide a link for them to sign in and authorize you the merchant to place orders on their behalf. If they accept, you will receive a token that can be used to send orders to Apruve through our API without popping up our checkout modal. This provides a more streamlined and integrated purchasing experience for your customers.
Merchant settings for OAuth
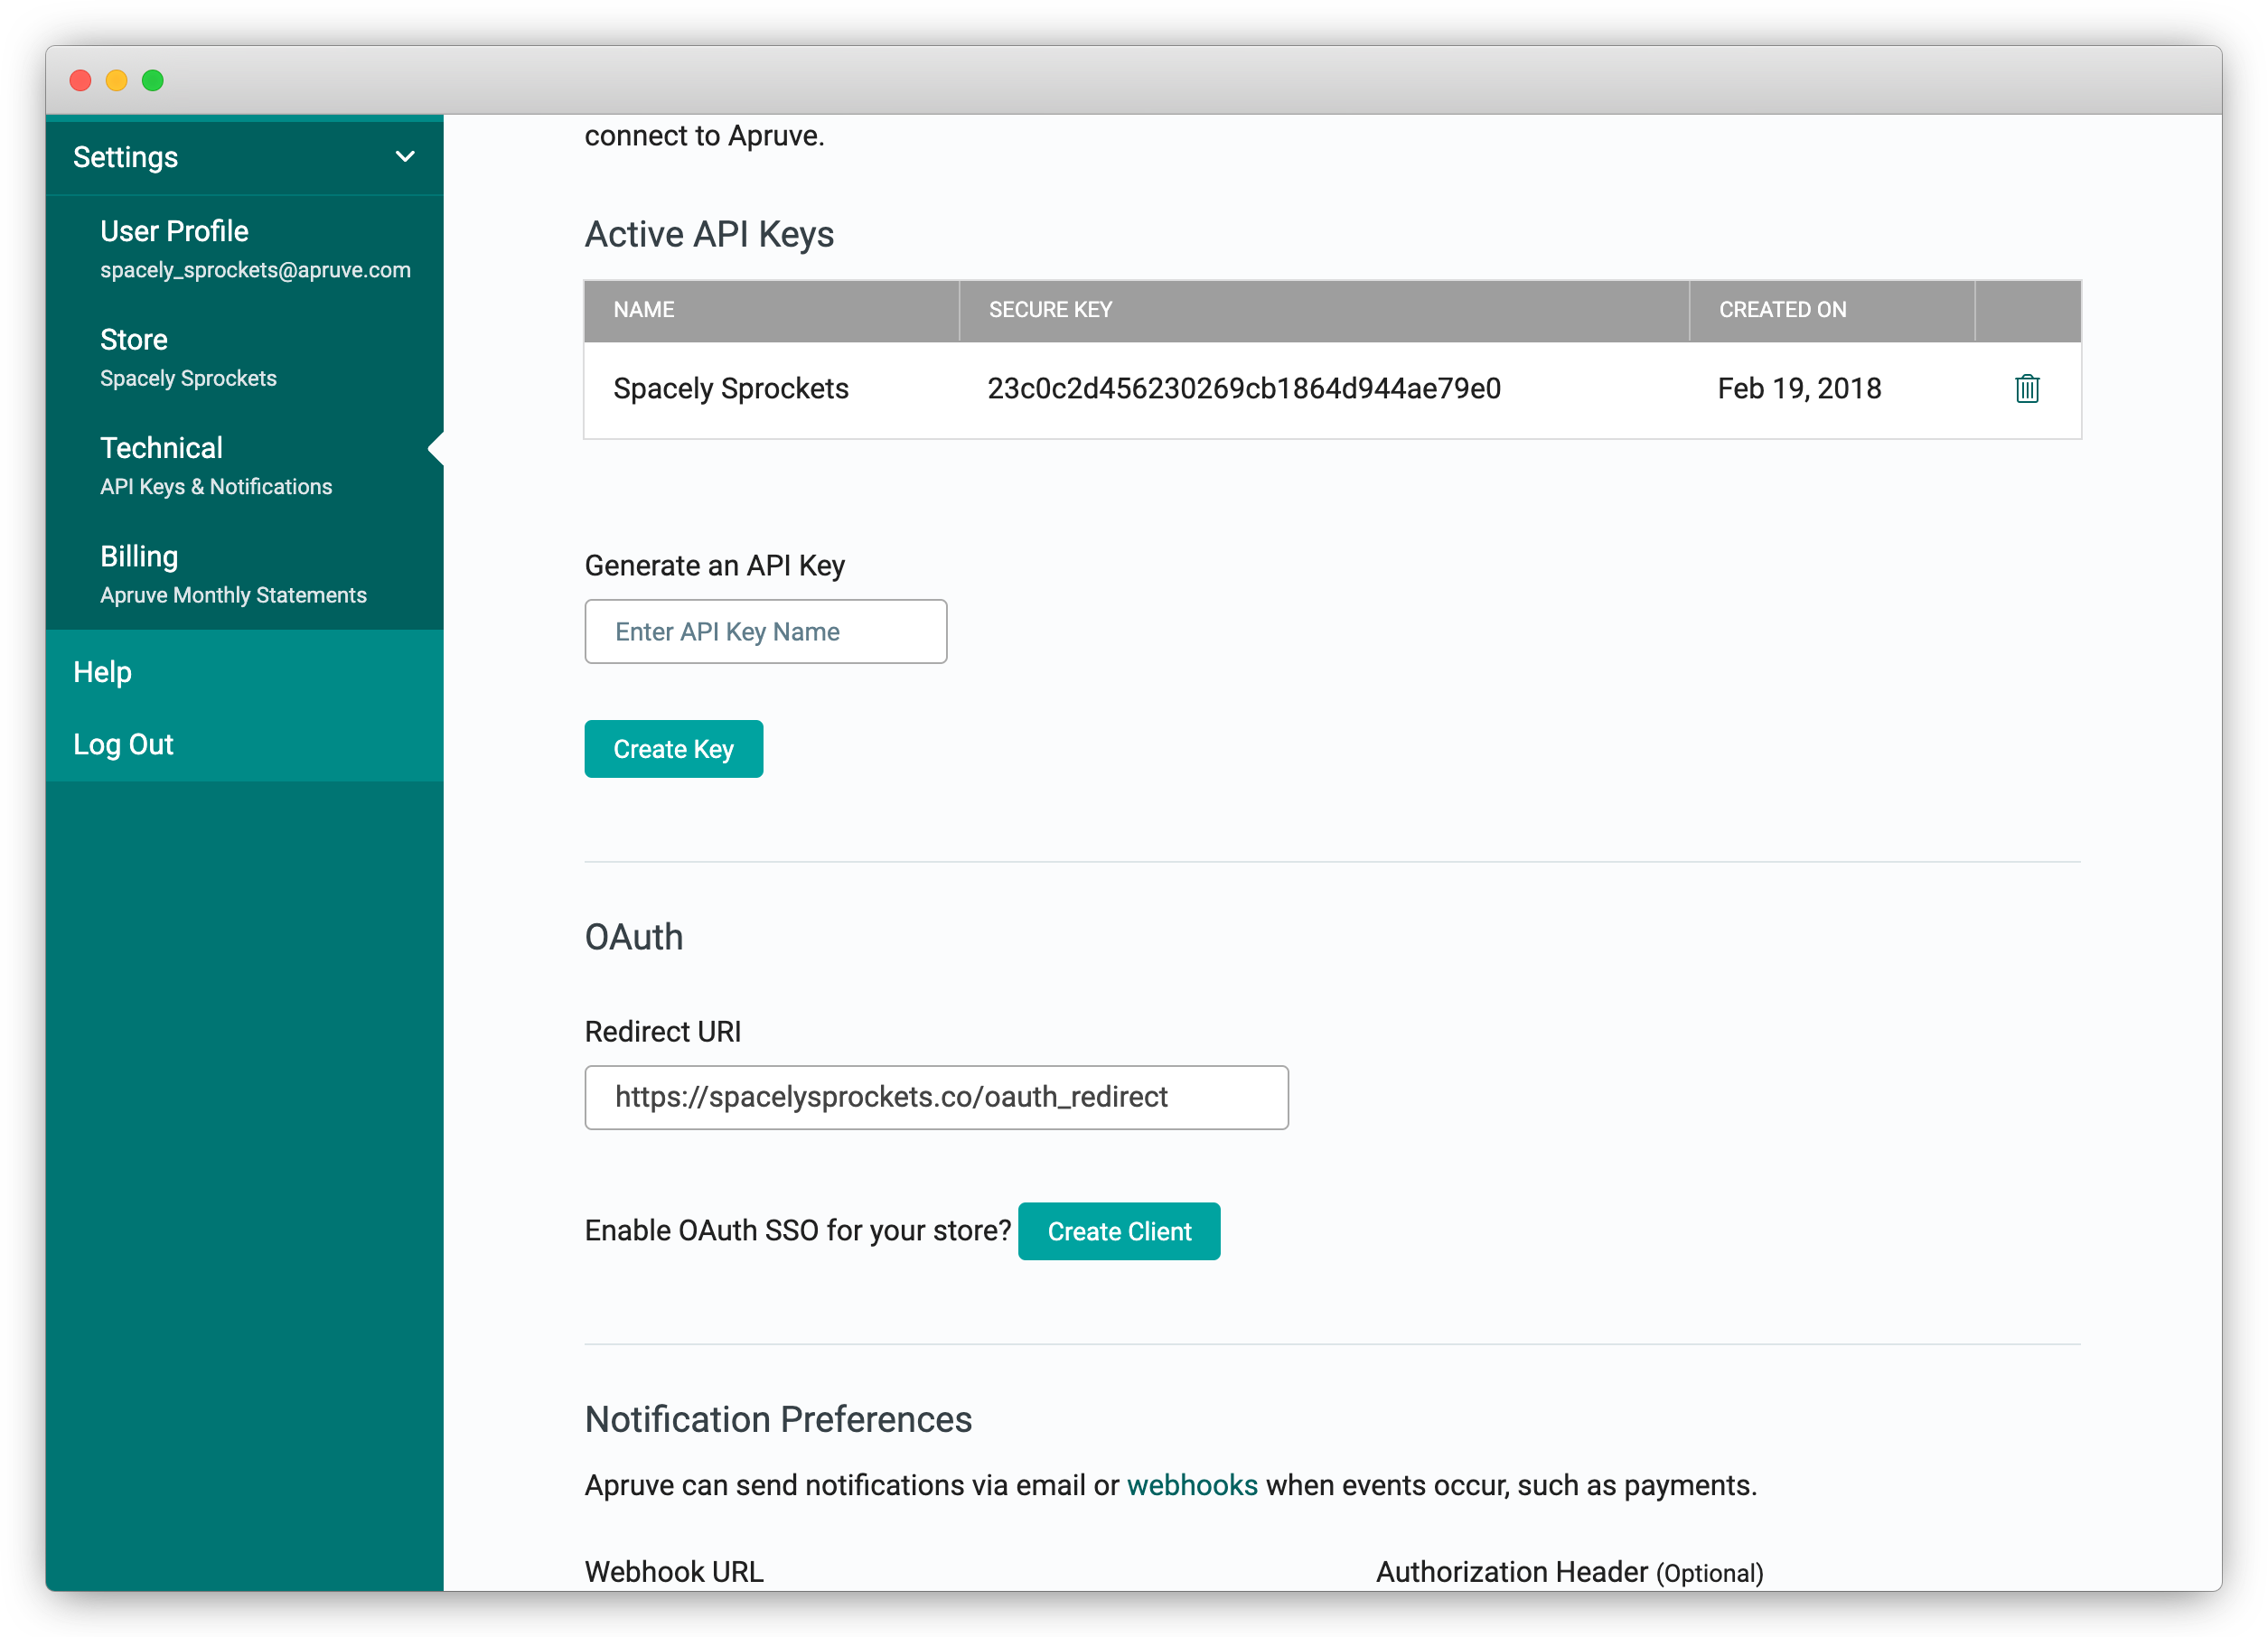
To enable single sign-on for your store, sign in to your Apruve dashboard, click the Settings link on the side bar and select Technical. On this page, find the OAuth section where you will be able to enter your Redirect URI and generate an OAuth client by clicking Create Client.
After creating the OAuth client, you will see a Client ID and Secret.
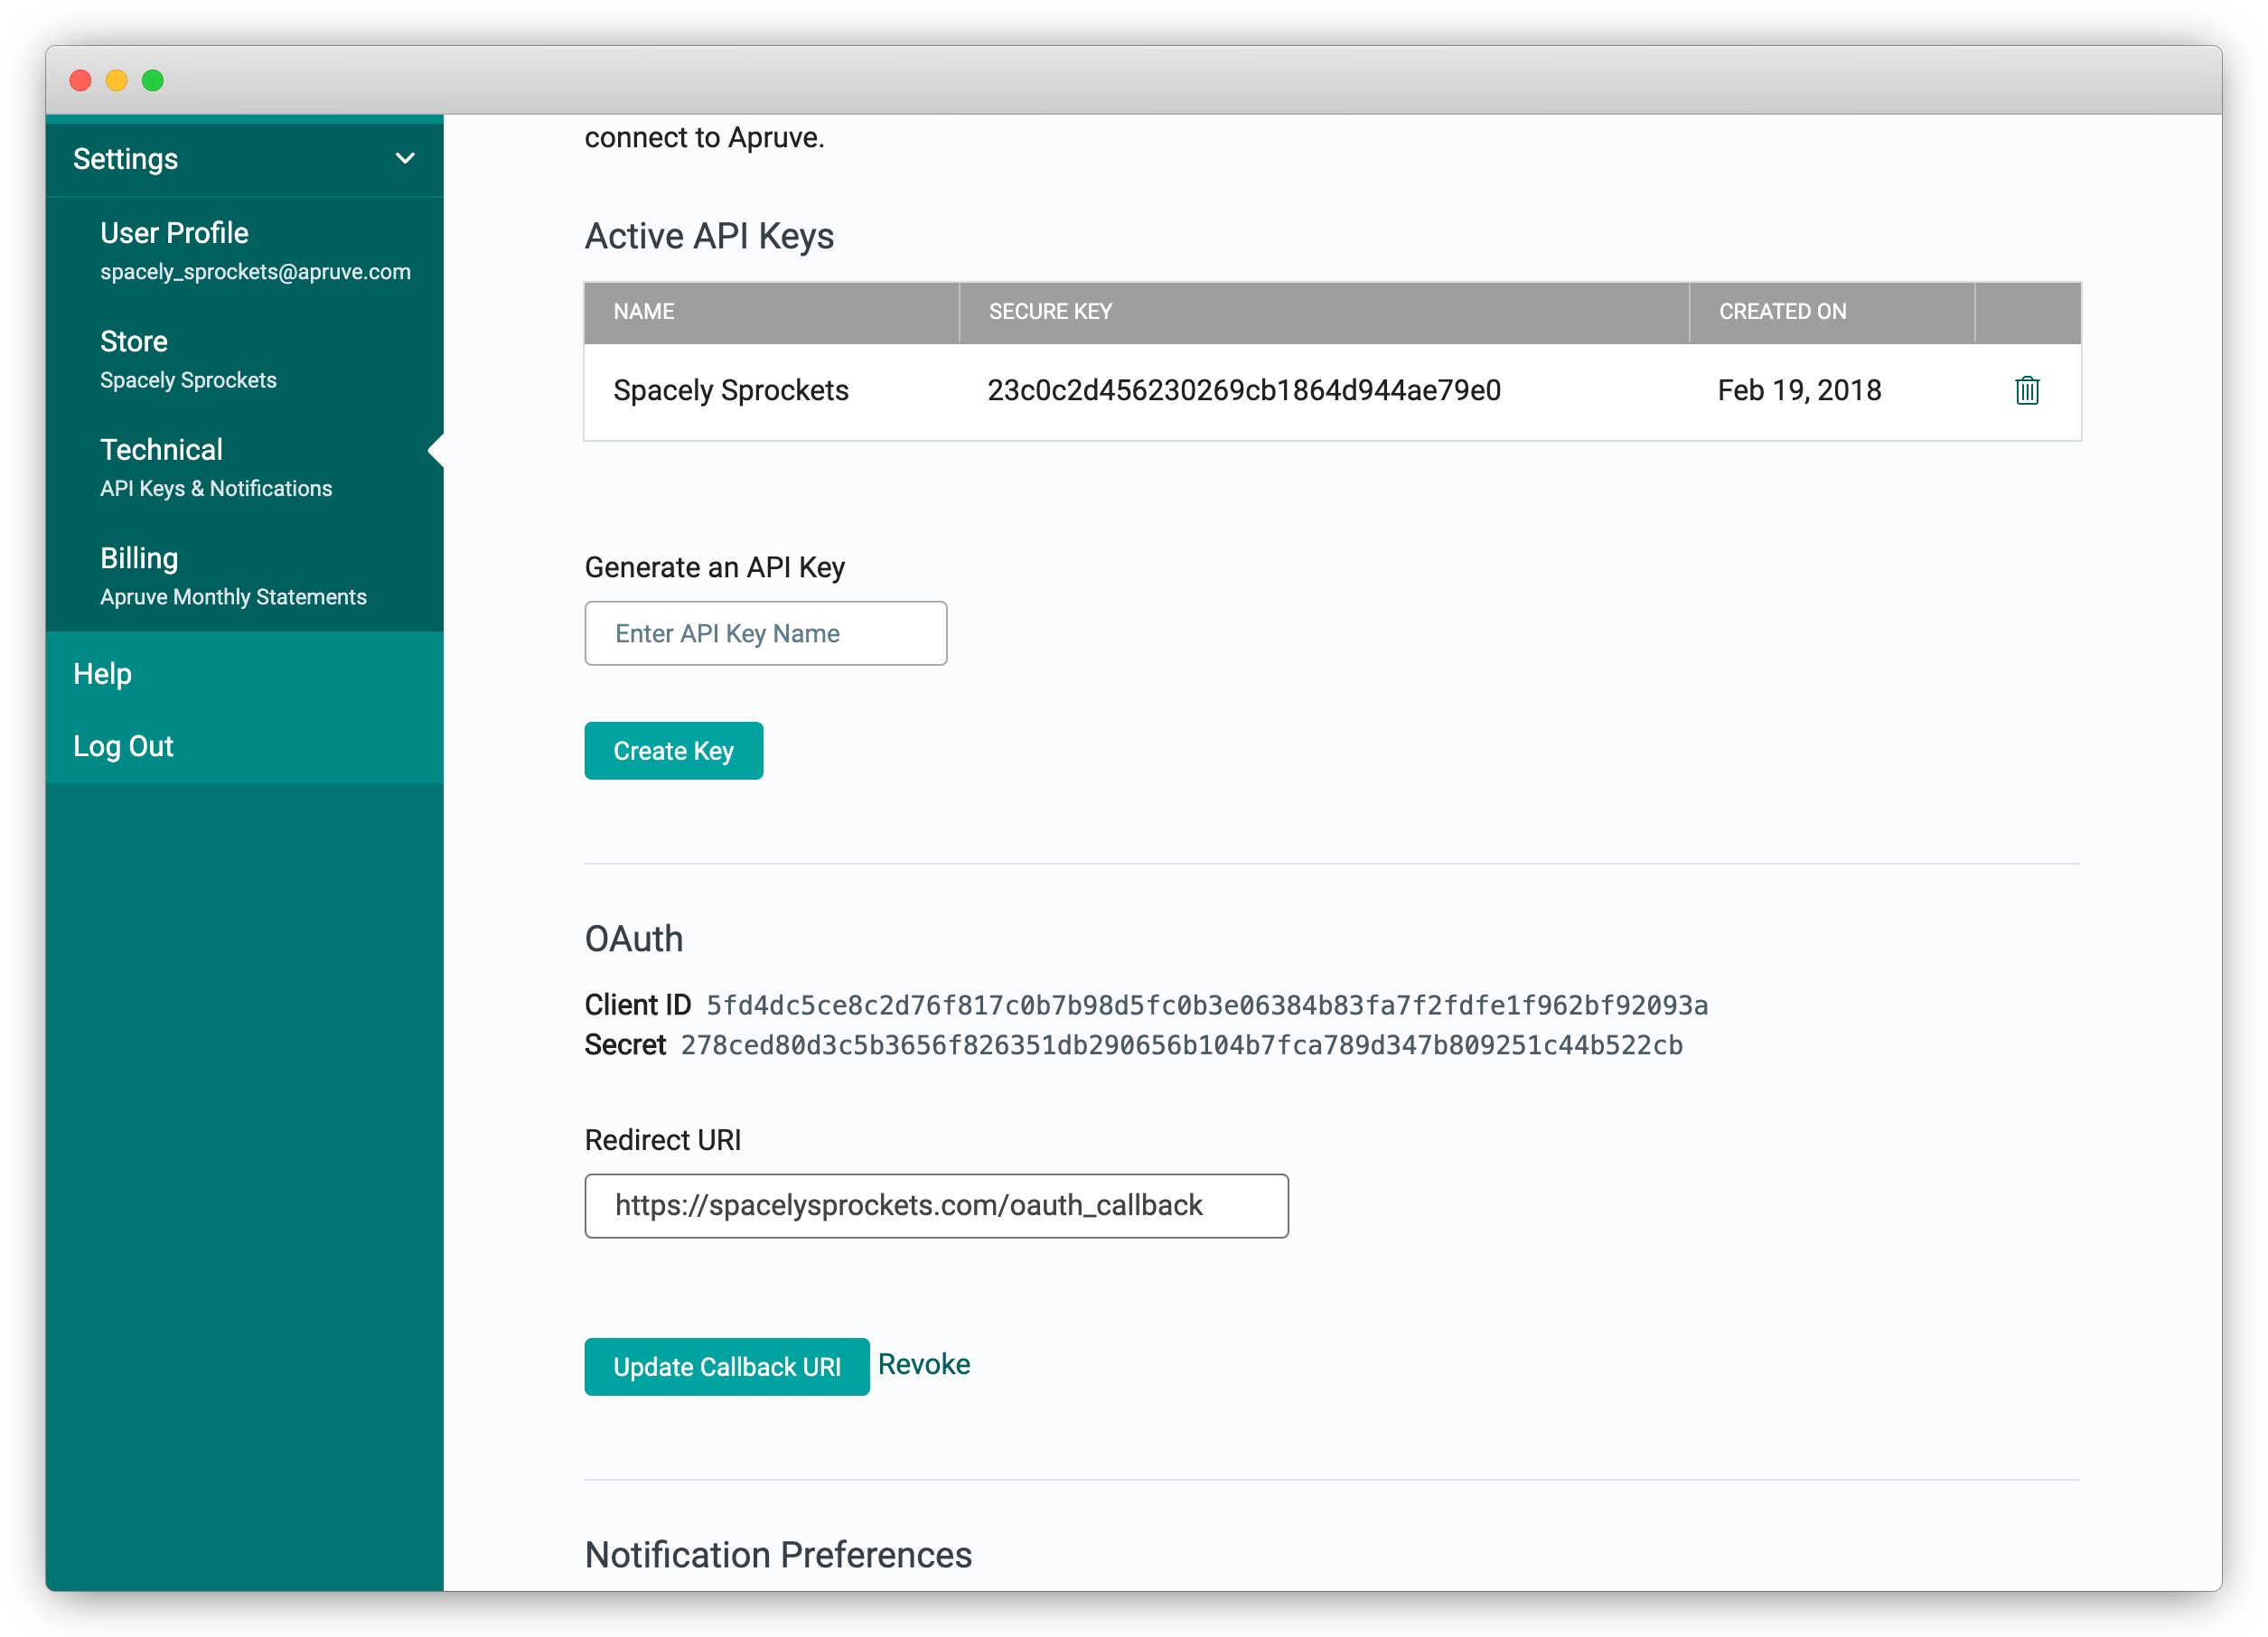
To disable OAuth single sign-on, click the Revoke button. You will no longer be able to place orders on your customers' behalf using OAuth tokens and will not be able to authorize new tokens.
Important!If you disable OAuth, make sure you really mean it! If you re-enable it, you will get new Client ID and Secret values and will need to update your integration with the new values. Also, any customers that had previously authorized will need to re-authorize.
Authorization grant flow
Now that you have the OAuth client set up, you can start the authorization grant flow for a customer. First, the customer must initiate a GET request to the authorization endpoint in Apruve. This is done by having them follow a link that you generate. The link will have the following format:
https://test.apruve.com/oauth2/authorize in the test environment, and
https://app.apruve.com/oauth2/authorize in production.
The url must also have the following query parameters.
Request query parameter | Description |
|---|---|
client_id | The Client ID is provided when you generated the OAuth client in the first step. |
redirect_uri | The Redirect URL you provided when generating the OAuth client in the first step. This is where the customer will be redirected to when the grant flow is complete. |
response_type | The value for this is always |
state | An optional value that you can provide that we will include in the query parameters when redirecting the user to |
Example Authorization URL
https://test.apruve.com/oauth2/authorize?client_id=5fd4dc5ce8c2d76f817c0b7b98d5fc0b3e06384b83fa7f2fdfe1f962bf92093a&redirect_uri=https%3A%2F%2Fspacelysprockets.com%2Foauth_callback&response_type=code&state=fa0424cef2f9350a6a53deb6baeed643c0a82365d1132113450e53e51f063103
For the following values:
client_id: 5fd4dc5ce8c2d76f817c0b7b98d5fc0b3e06384b83fa7f2fdfe1f962bf92093a
redirect_uri: https://spacelysprockets.com/oauth_callback
state: fa0424cef2f9350a6a53deb6baeed643c0a82365d1132113450e53e51f063103
response_type: code
This will prompt your customer to log into Apruve, after which we will show a page with options to Authorize or Cancel the request.

Redirect back to your site
The customer can select to Cancel or Authorize your request to operate on their behalf. In either case, we will send the client back to the Redirect URI the you initially provided and have used as a query parameter in the last step. We will use the following query parameters in this step.
Redirect From Apruve
Request query parameter | Description |
|---|---|
code | A randomly generated code used for the next step. This will not be provided if the customer declined authorization. |
state | The optional state that you provided in the previous step. Use this to prevent cross-site request forgery attacks. |
error | An error code that is only provided if there was an error or the customer declined authorization |
error_description | Description of error, only provided if there was an error. |
Example (success): https://spacelysprockets.com/oauth_callback/?code=5559c688c82f17c0966afebaf07eb6889e758810793b8c9fa5b7e7b1372f2ae6&state=fa0424cef2f9350a6a53deb6baeed643c0a82365d1132113450e53e51f063103
Example (error): https://spacelysprockets.com/oauth_callback/?error=access_denied&error_description=The+resource+owner+or+authorization+server+denied+the+request.&state=fa0424cef2f9350a6a53deb6baeed643c0a82365d1132113450e53e51f063103
Request the token
The final step is to send a request for the access token. In this step you will POST to the following url:
https://test.apruve.com/oauth2/token for the test environment and
https://app.apruve.com/oauth2/token for production.
The request must have the following parameters:
Parameter | Description |
|---|---|
client_id | The client ID we provided when you generated the OAuth client in the first step. |
client_secret | The secret we provided when you generated the OAuth client in the first step. |
code | The code we provide to you as a query parameter in the redirect. |
grant_type | This will always be |
redirect_uri | The redirect uri that you provided when generating the client and that has been used in each of the previous steps. |
state | The optional state that you provided in the previous step. Use this to prevent cross-site request forgery attacks. |
If everything is successful, our response payload will contain the following data, which should be stored with the associated user in your system as they will be required to make requests on their behalf.
Response From Apruve
Response Parameter | Description |
|---|---|
token | Access token used to authorize requests on behalf of your customer. This lasts for 120 min, before you need to use the refresh token to obtain a new one |
refresh_token | Token used to obtain a new access token when it expires |
expires_in | The amount of time in seconds that the new access token will be valid before expiring. |
corporate_account_id | The ID of your customer's corporate account in Apruve. This refers to the company that the user belongs to as opposed to the user itself. |
Refreshing the token
When the access token expires after 120 minutes, you need to obtain a new one using the refresh token. To do so, make a post to the same endpoint used to get the token originally, this time using the following parameters:
Parameter | Description |
|---|---|
client_id | The client ID we provided when you generated the OAuth client in the first step. |
client_secret | The secret we provided when you generated the OAuth client in the first step. |
refresh_token | The last |
grant_type | This will always be |
If everything is successful, our response payload will contain the following data. The new refresh_token and access_token should be stored with the associated user in your system.
Refresh Token Response From Apruve
Response Parameter | Description |
|---|---|
access_token | A new access token for this user |
expires_in | The amount of time in seconds that the new access token will be valid before expiring. |
refresh_token | A new refresh token for this user |
corporate_account_id | The ID of your customer's corporate account in Apruve. This refers to the company that the user belongs to as opposed to the user itself. |
Using the access token in requests
With the user's access token you can create orders on their behalf and get data about their account such as credit limit. In order to use the access token, you must put it in an Authorization header when making requests. For example:
Authorization: Bearer d068492b812fb8d94b0d824627cf27f4ae5e3a45fd7302537fe5fa060c44a550
If you get a 401 response code with the following error payload, it is time to request another access token, follow the previous step. You can also keep track of the expiration times on your end.
[
  {
    "message": "Invalid authentication token."
  }
]