
Integrating with BigCommerce
Prerequisites
This article assumes that you:
- Have an existing Apruve Merchant Account on either Apruve's test or production server
Whether you want do this on the test server or production server depends on which Apruve server you wish to integrate your Bigcommerce store with.
If you meet the prerequisites, you can skip the rest of this section and move onto Step 1 - otherwise, please follow the instructions below:
Creating a Merchant Account
If you want to integrate with Apruve's test server or production (live) server, you can contact us here to get started.
You will receive an email containing a link to confirm the account - you'll need to confirm it before you can move forward and use it.
Step 1: Installing Apruve
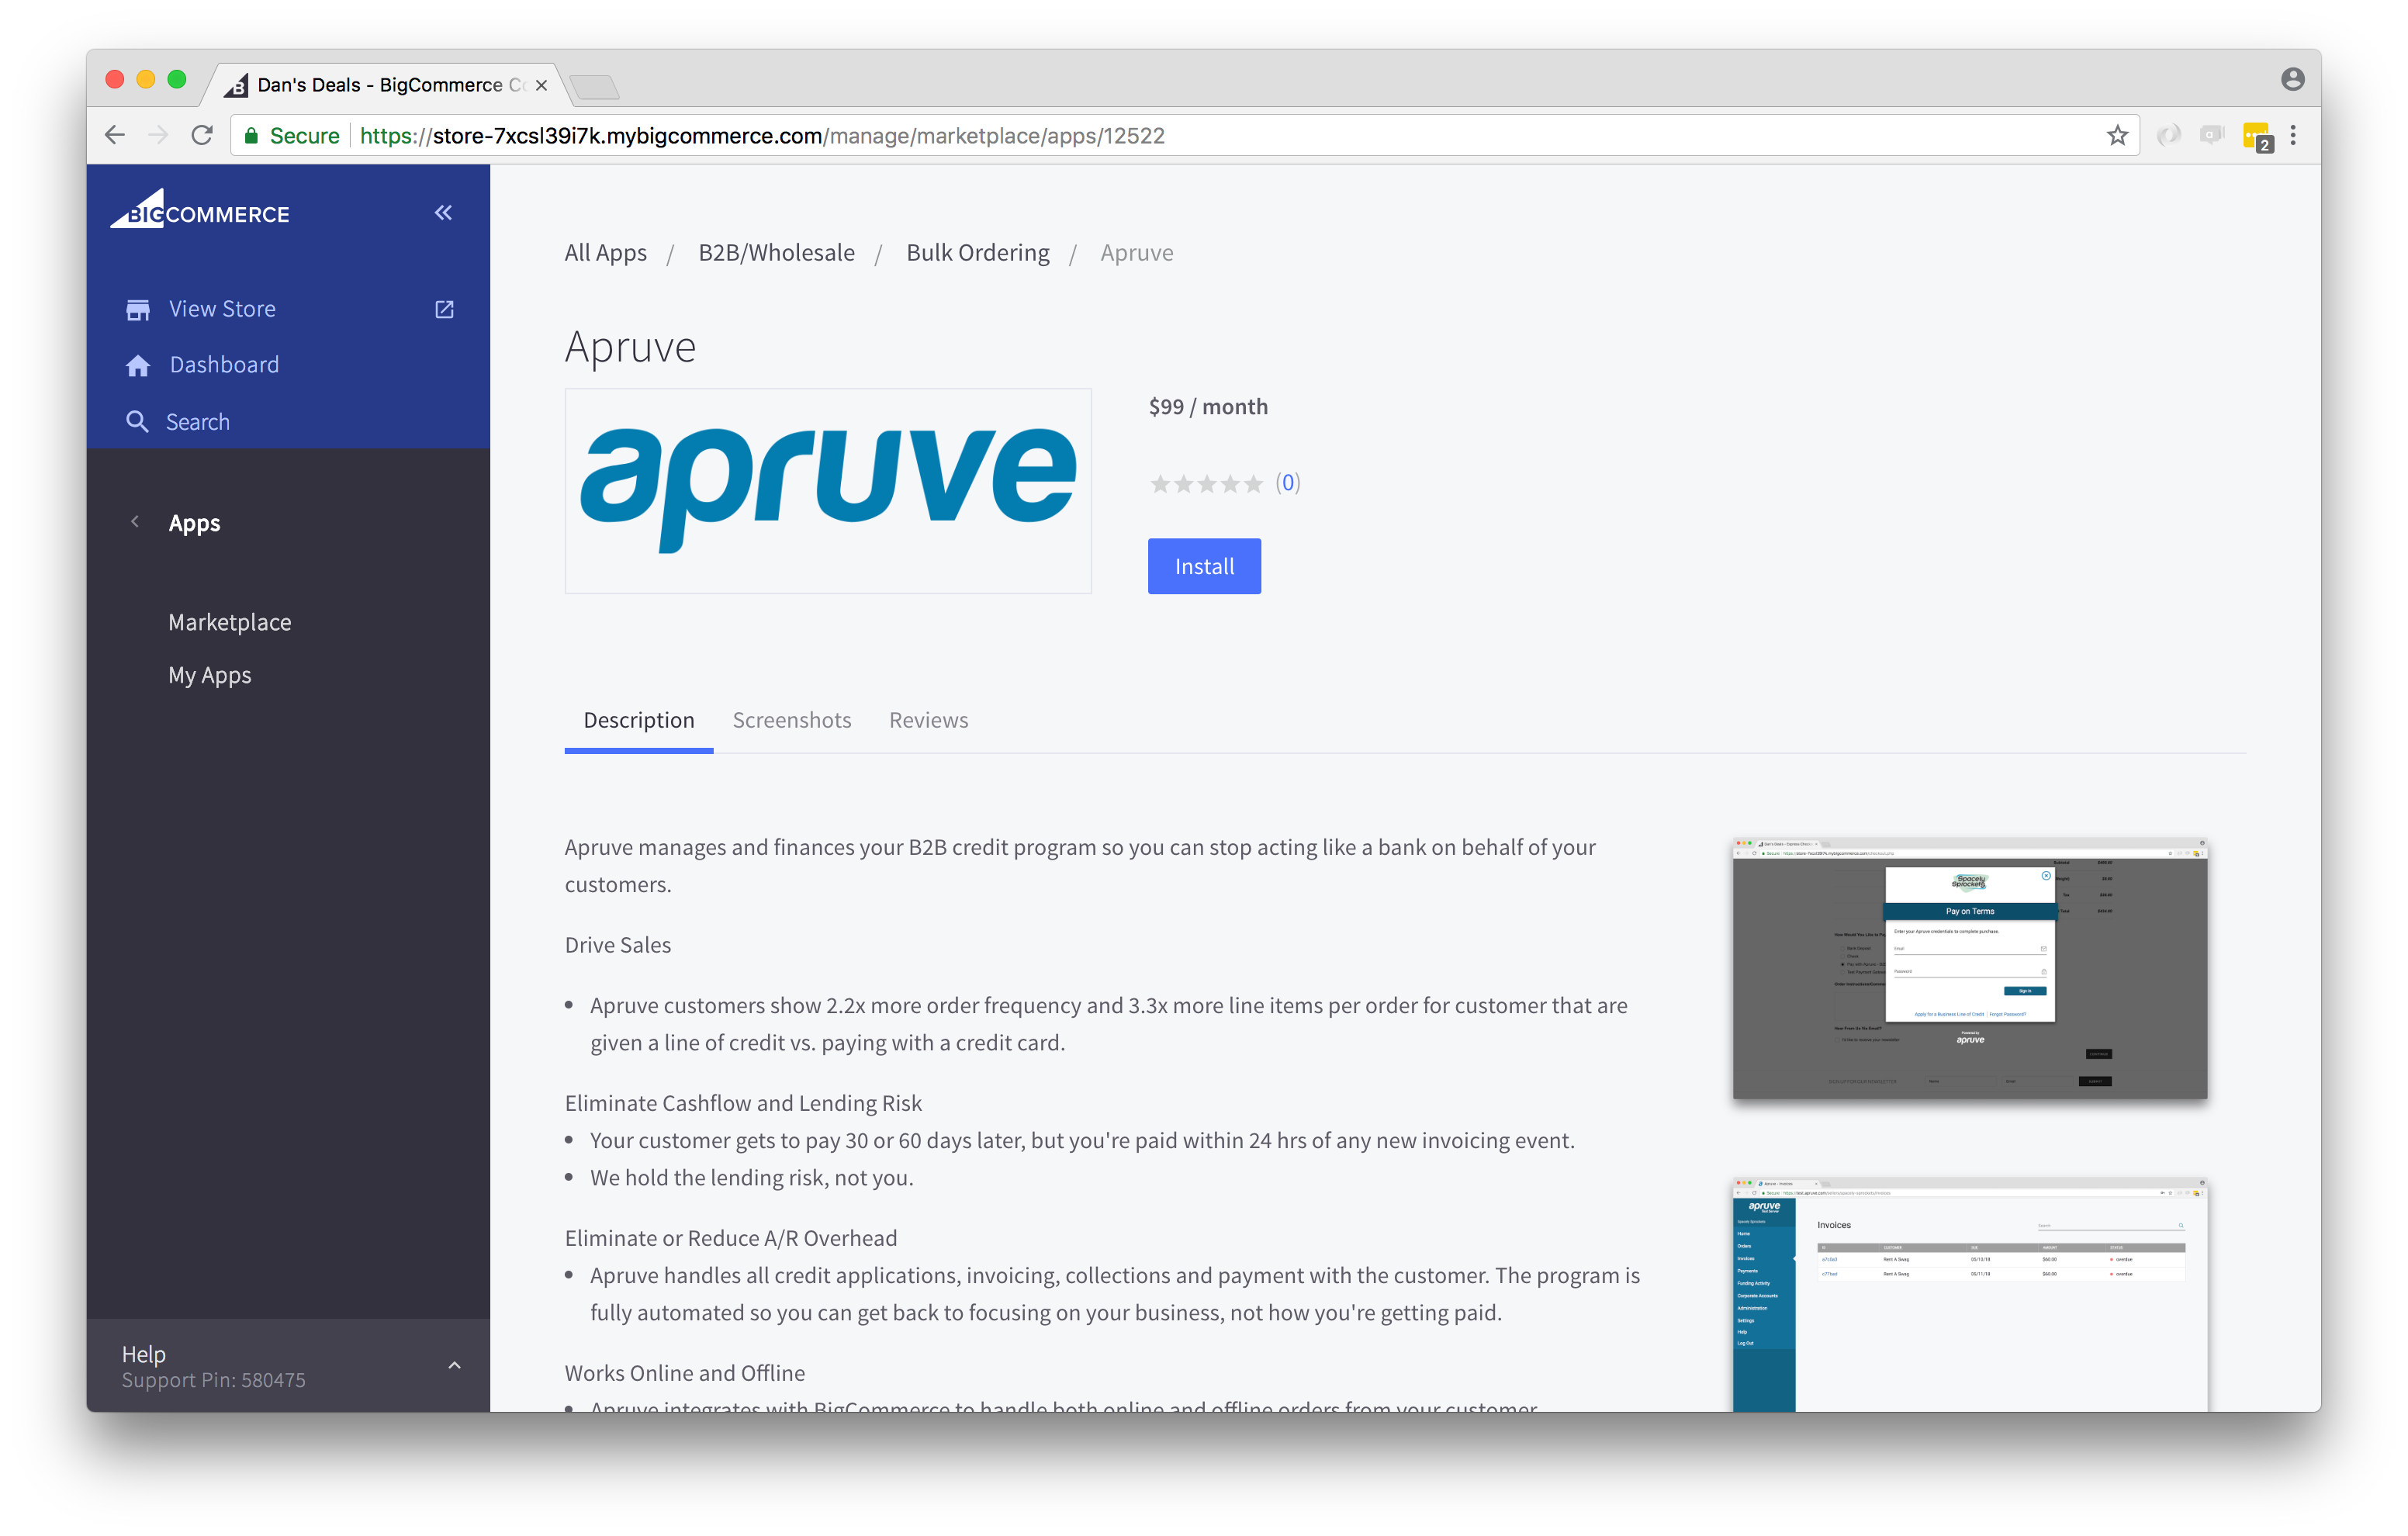
Navigating to Apruve
First, you'll want to find and install Apruve from the app marketplace - you can get there by navigating to the Apps section of the side-nav in your store management app. After clicking 'Install', you will be asked to confirm the access to your store. Click confirm to complete the OAuth exchange process between your store and Apruve.

Step 2: Wrapping up the Installation Process
Once you've installed Apruve, you'll be asked to provide the credentials described above (API Key, and Merchant ID)
Application Usage
In Apruve's workflow, an Order is used to capture your buyer's authorization for a purchase. Once you have an approved Order, you can issue Invoices against that Order. The Invoices can then be paid out by the bank that is backing your credit program.
Apruve's BigCommerce integration allows you to facilitate this process through BigCommerce. Just follow these steps:
- Create an Order for a customer with an Apruve account. The customer will get an email from Apruve asking them to confirm that they want to put the order on their Apruve account.
- Once the customer accepts the order, you may proceed to ship any products from the original order to kick off the invoicing process.
Managing Apruve Orders through BigCommerce

To create an Apruve order, simply create an Order in BigCommerce for a customer that has an Apruve corporate account. You should see the order reflected in Apruve's system. An order is flagged as an Apruve order by specifying 'Apruve' in the description field for an order created with the 'Manual Payment' payment method.

Apruve supports specifying PO numbers for your customers' records. If you'd like a PO number to show up in Apruve, enter it in the comments section.

If you have the quotes feature disabled in Apruve, the customer's order will be created and finalized in Apruve at this time.
If you have the quotes feature enabled in Apruve, an email will be sent to the customer for them to accept the quote. In this email there will be a button for them to confirm the order, which will finalize it in Apruve. You may want to update the message sent to your customer with the order to let them know this second email is coming to reduce the chance of confusion.
At this point the order's status in BigCommerce should be "Awaiting Fulfillment".
Invoicing through Apruve
To invoice for a particular order, we need to receive a notification regarding shipment of an Apruve Order. This can be done in your store through the 'Ship Items' UI when viewing the expanded view of an order.
You may ship as many or as few items from the order as appropriate to invoice appropriately for the contents of the shipment.

That's it! The merchant will be paid shortly after Apruve receives notification of the shipment, and the customer will have a period of time to pay the corresponding invoice as dictated by the terms of the merchant's credit program.
Any questions? See this video for more.
E-Commerce (Checkout) Integration
Step 3: Add Apruve as a payment method
Next, you'll want to add Apruve as a payment method to your store. To do this, navigate to 'Store Setup' -> 'Payments' and expand the Offline Payment Methods option. Select 'Pay in Store'.

There's just a few edits you'll need to make to the payment method - namely updating the name of the payment method to 'Pay with Apruve - B2B credit management' and providing some payment information for the order confirmation page. See below for potential details to provide in this field.

Step 4: Modify the BigCommerce Checkout Template File
You will need to edit the checkout.html template file. Don't worry! No coding is required, just some copying and pasting, you got this!
Nagivating to Template Editor
Navigate to "Storefront" -> "My Themes"
In the dropdown for your current theme, select 'Advanced' - > 'Edit Theme Files'. Navigate to 'templates/pages/checkout.html' in your file tree:
Edit the Checkout Template
Typically these changes will need to be pasted in after line 9. The exact line can depend on which BigCommerce version you're on and if you have any other customizations, so check out the example template below to help guide you.
First we pull in the main checkout library for Apruve, our apruve.js bundle. This is used across all of our checkout integrations and is not specific to BigCommerce. It will also vary whether you are using the Apruve test environment or production.
For test:
<script src="https://test.apruve.com/js/v4/apruve.js" type="text/javascript"></script>Or when you are ready to go live in production:
<script src="https://app.apruve.com/js/v4/apruve.js" type="text/javascript"></script>Below that, regardless of environment (test or production), add the following code, using the values from Step 2 in place of MERCHANT_ID. This is the BigCommerce specific code that ties the above checkout to the checkout in your BigCommerce store.
<script src="https://code.jquery.com/jquery-3.2.1.js"></script>
<script>
  document.apruve_merchant_id = "MERCHANT_ID";
</script>

<!-- For production use: https://bigcommerce.apruve.com/gateway/authorize_storefront.js --->
<script src="https://bigcommerce.apruve.com/gateway/authorize_storefront.js"></script>
Here is an example template.

That's it, you should be done at this point!
If you experience any issues with the integration at this point, please let us know at [email protected].